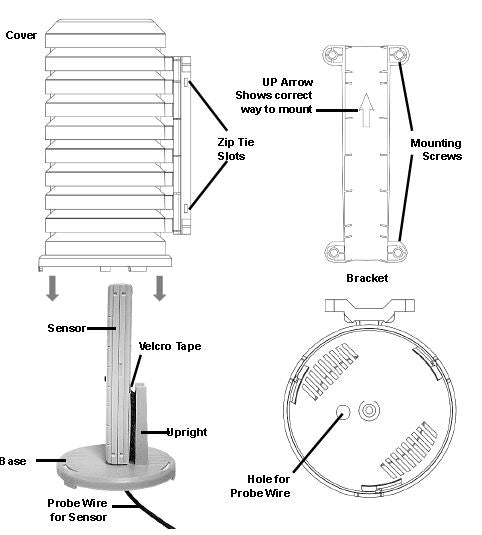
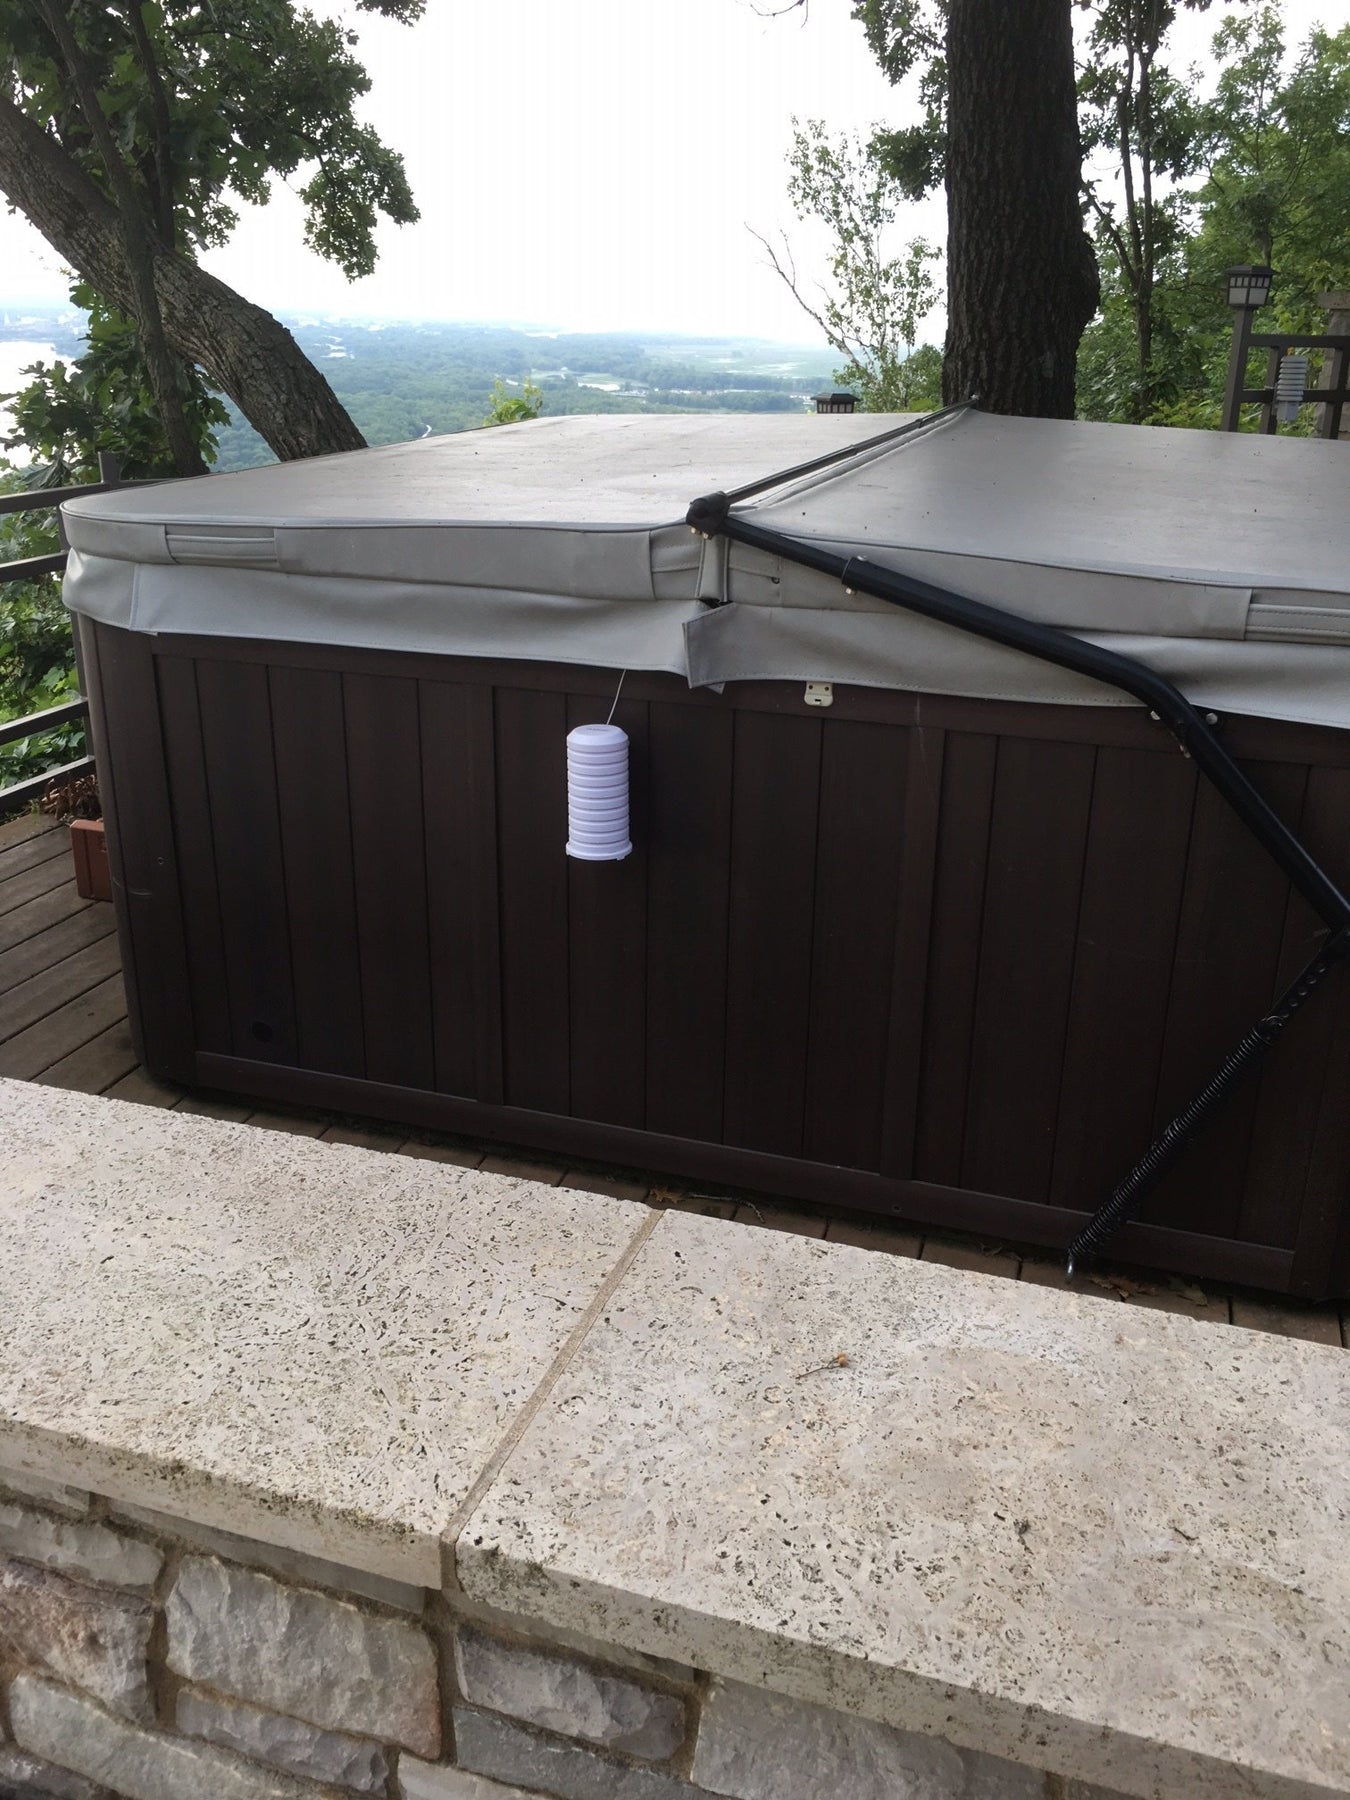
Mounts to a flat surface:
- Twist the cover clockwise to remove the base.
- Place one long screw through the center hole of the base.
- Tighten until the head of the screw is flat with the base.
- Do not overtighten.
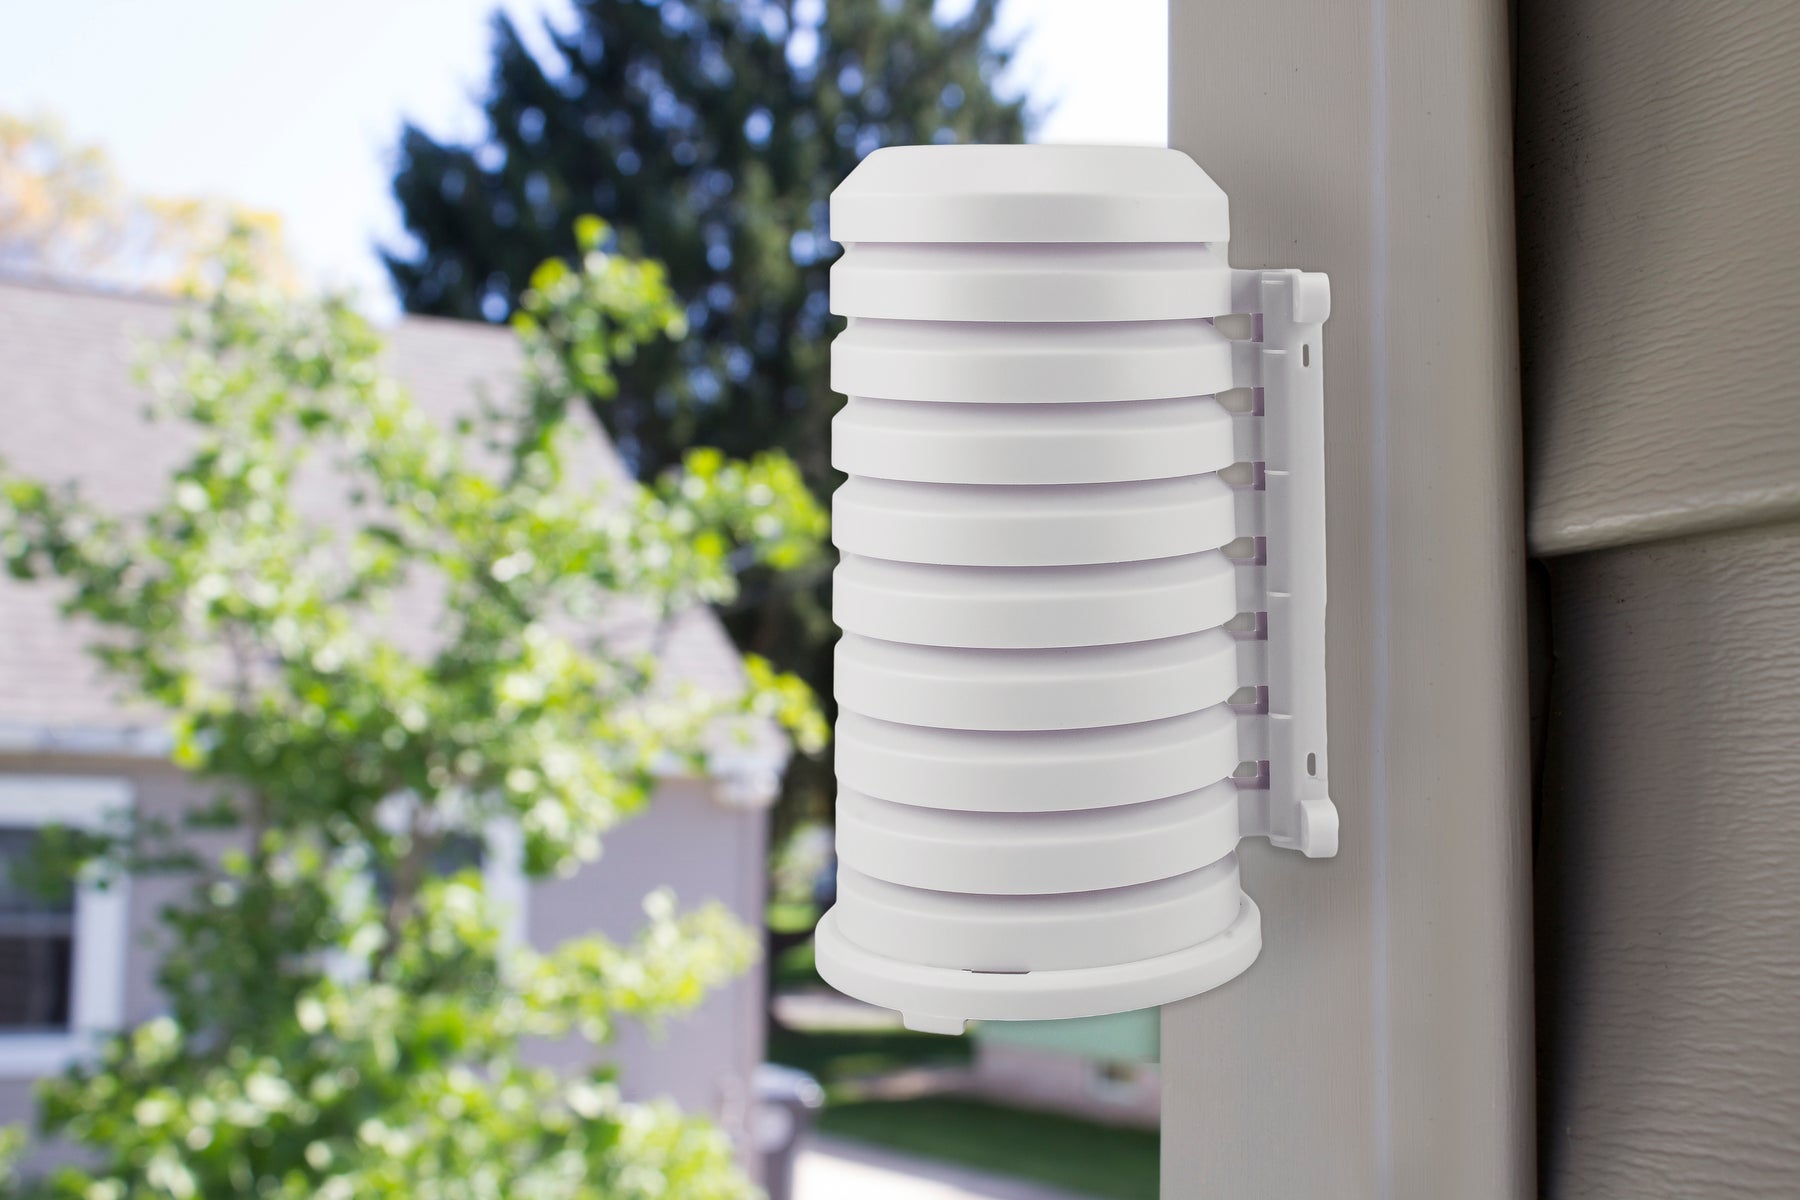
OR Mounts to a wall or post:
- Slide the mounting bracket down and remove from the cover.
- Take note of the UP ARROW on the back of the bracket.
- Find a shaded location and attach the bracket (arrow UP) with the four screws (included), or with the two zip ties (included).
- Note: Allow room to slide cover onto bracket.
- Slide the shield down onto the bracket.
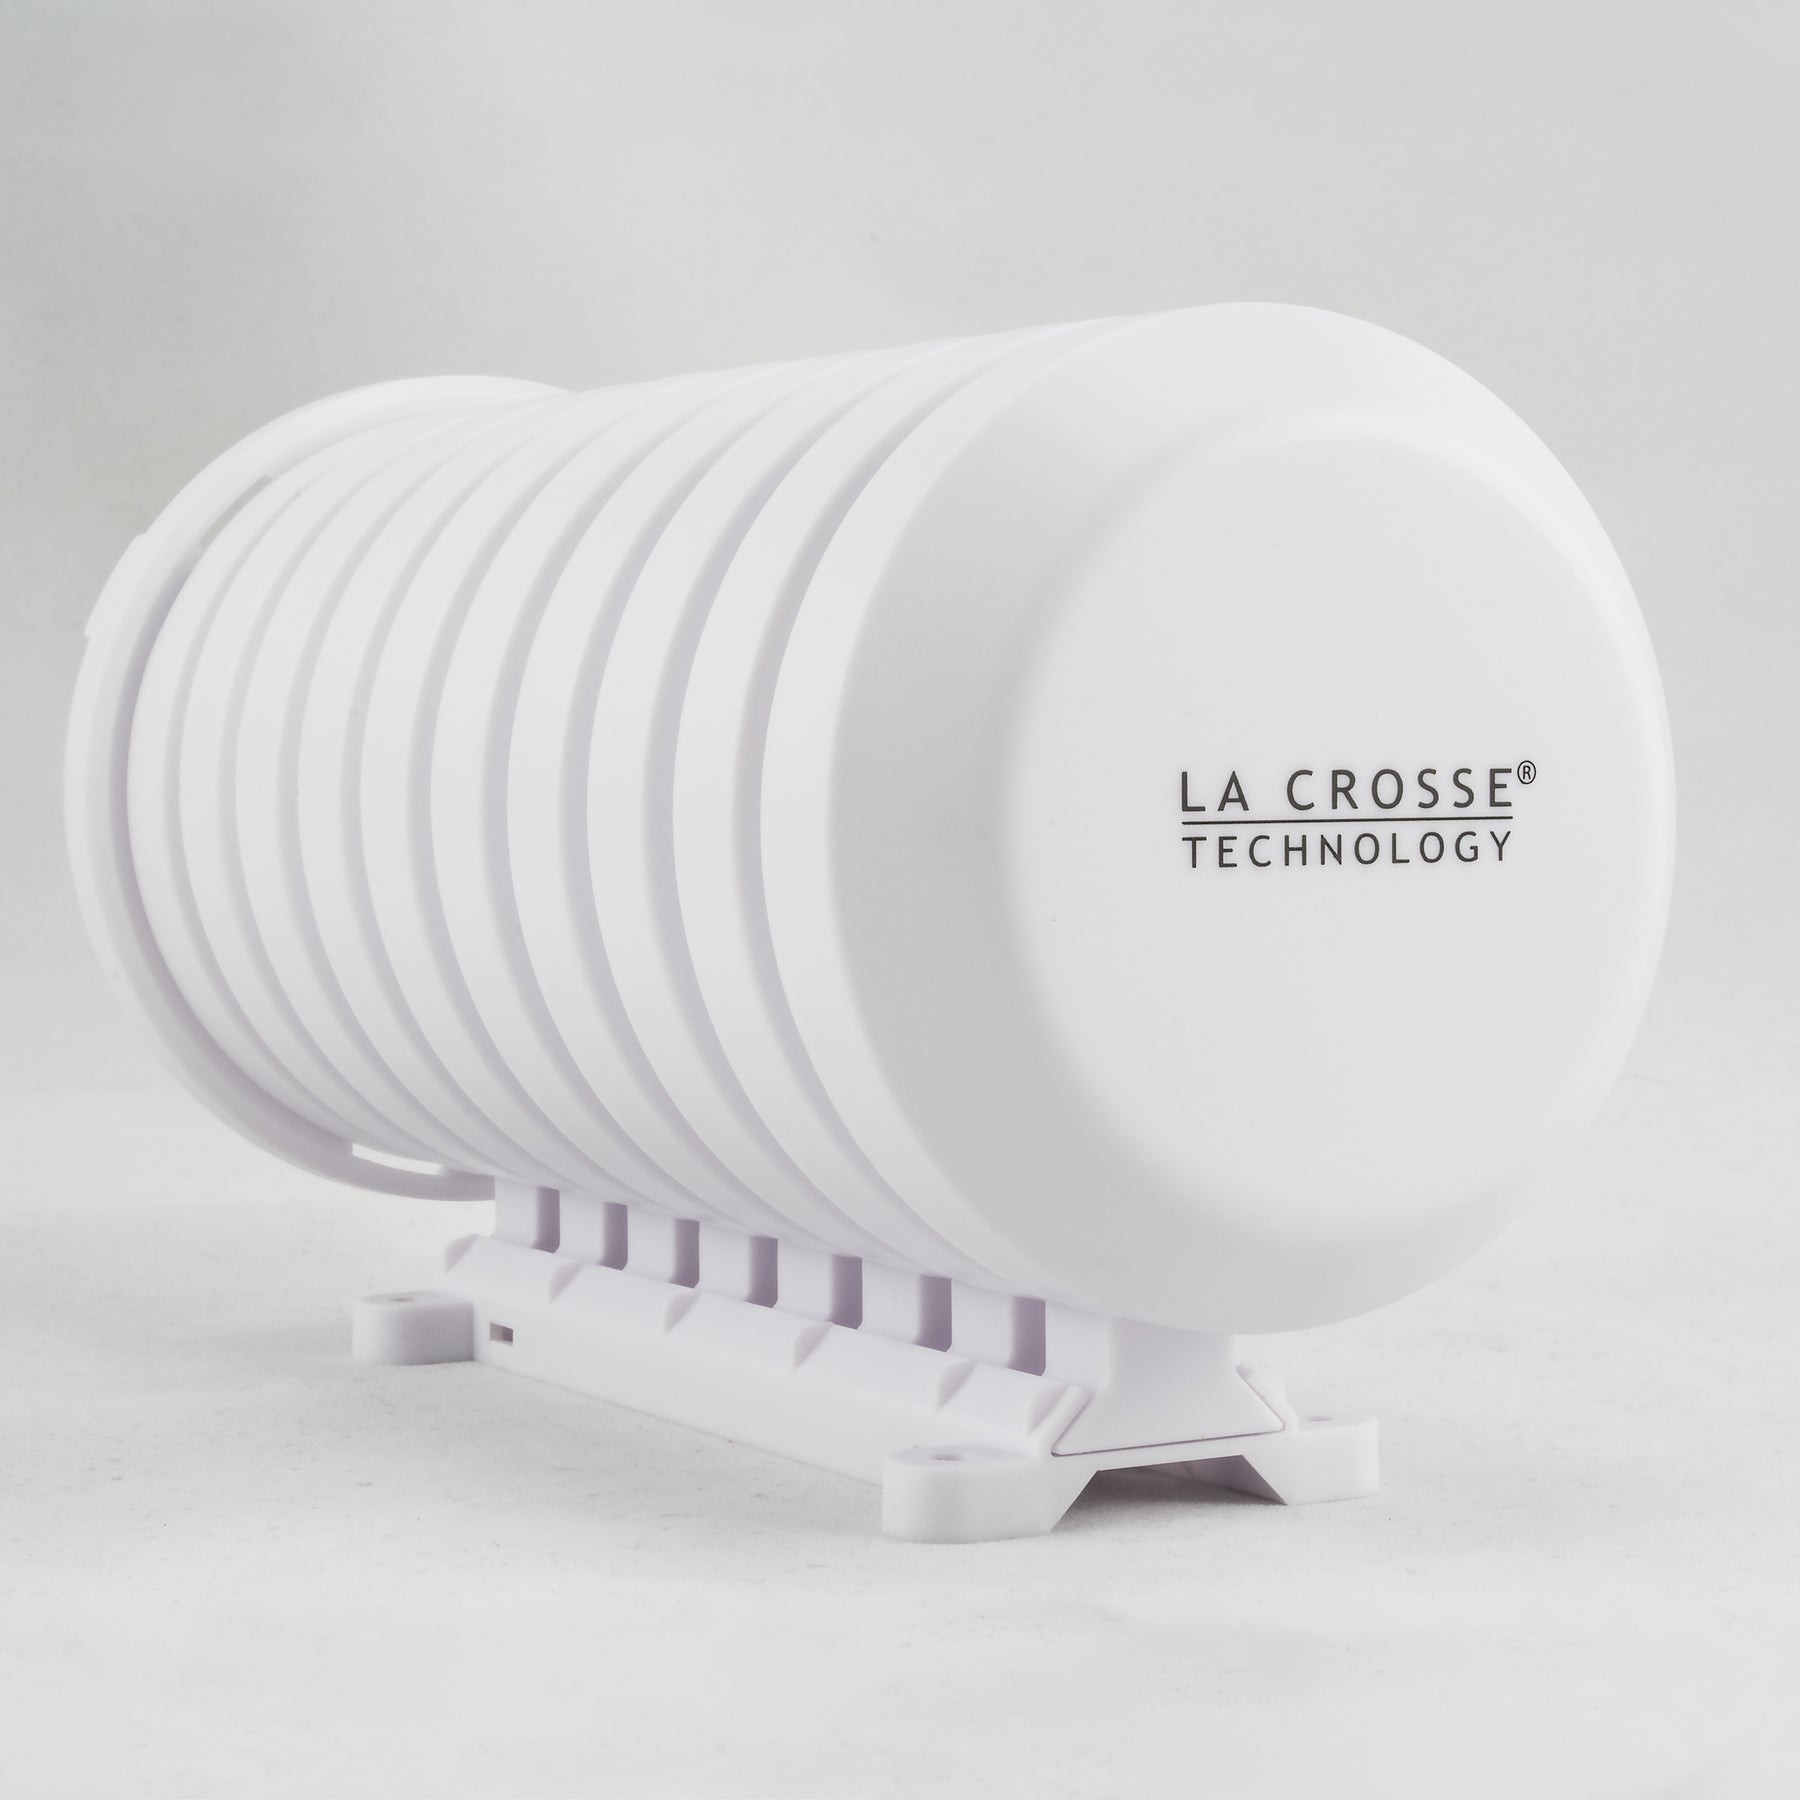
Insert a Sensor for Protection from the Elements:
- Twist the cover clockwise to remove the base.
- Attach the Velcro tape to the sensor and to the upright on the base. This keeps the sensor from tipping.
- Alternately, secure the sensor with a zip tie.
- With a probe sensor, be sure the probe wire fits through the round hole in the base.
- Place cover over sensor and base. Twist counter clockwise to lock into place. Sensor must fit entirely in the sensor shield to be protected.
- Mount the sensor shield so that the sensor is in range of the display.
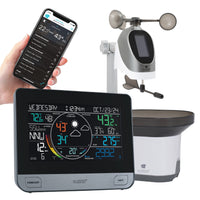
Only recommended for use with the following La Crosse Technology outdoor sensors:
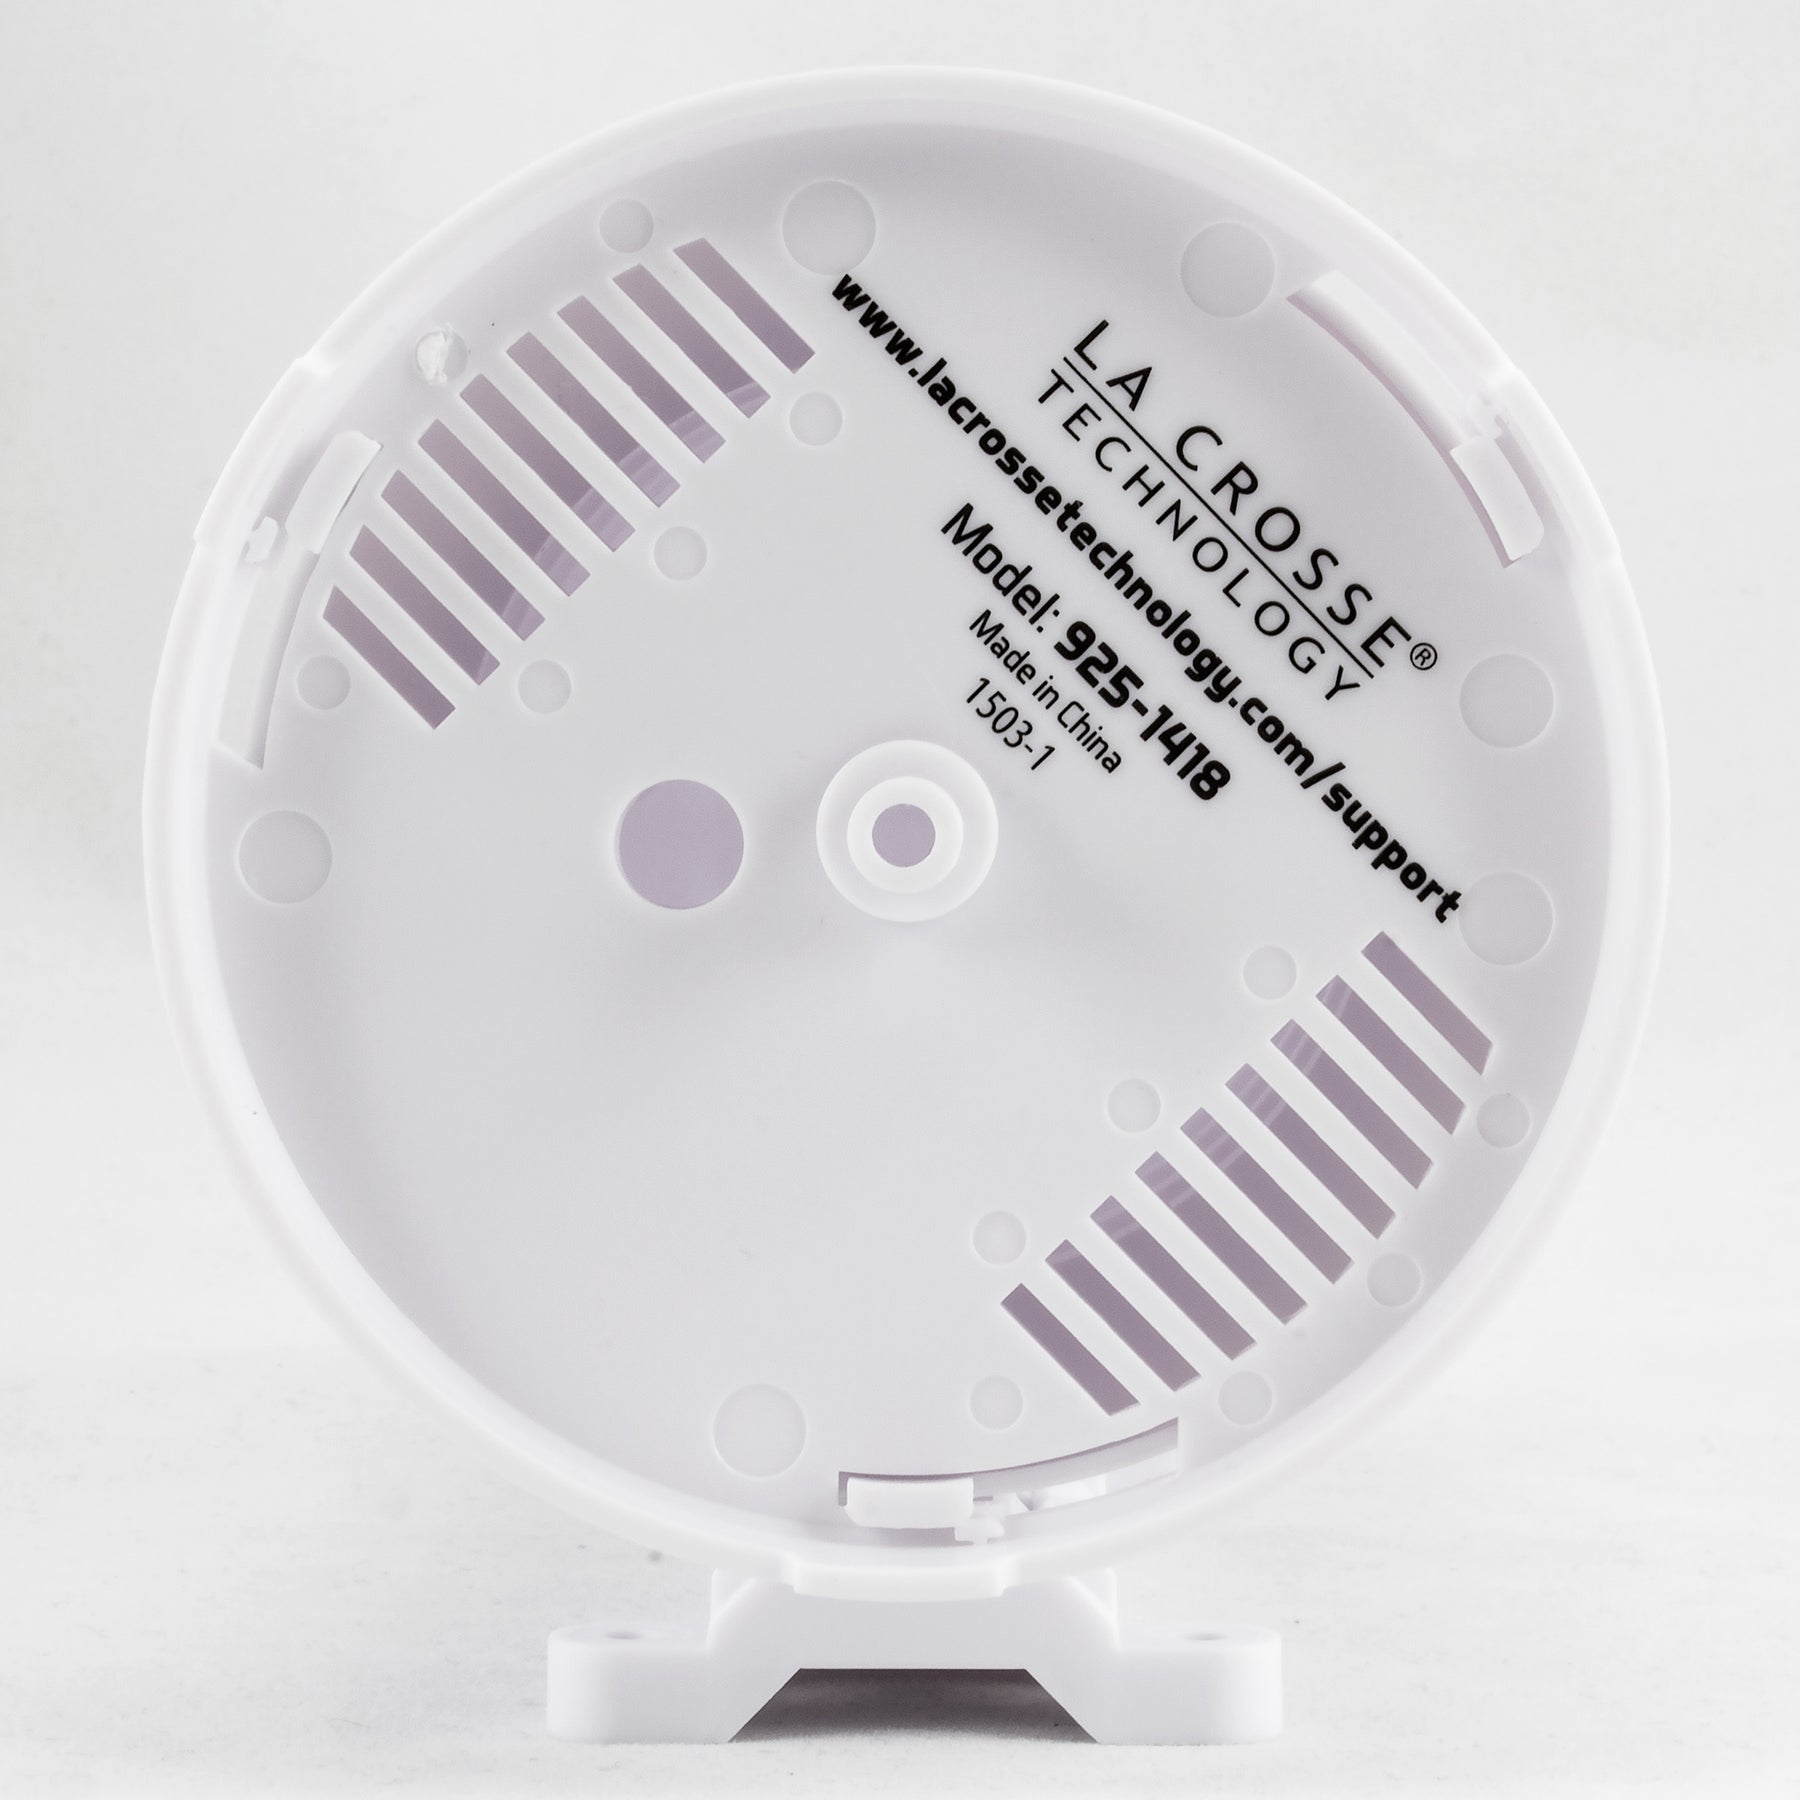
- LTV-TH1
- LTV-TH2
- LTV-TH3
- TX21 (WS-1517)
- TX6U
- TX7U
- TX141 Series
- TX142 Series
- TX143 Series
- TX191
- TX232TH-LCD
- TX233TH
- TX25U
- TX28U-IT
- TX29U-IT Series
- TX37U-IT
- TX38U-IT
- TX40U-IT
- TX44UDTH-IT
- TX45 Series
- TX50U-IT
- TX60U-IT
- TX70U-IT
- TX71U-IT Series
Dimensions:
- 7.00" H x 3.73" W x 3.98" D
Need Additional Help?
Contact La Crosse Technology Support

La Crosse Technology, Ltd. provides, to the original purchaser, a 1-year limited time warranty (from date of purchase) on this product, relating to manufacturing defects in materials & workmanship. The item will be either repaired or replaced at La Crosse Technology's discretion.
Click Here for full warranty details
Reviews
There are currently no reviews